A user guide that helps you quickly understand Mapware and how to process models!
Table of Contents
Last Updated 10/18/22
Welcome to Mapware
Mapware is an extremely powerful photogrammetry engine software. The software is capable of stitching thousands of images together into a point cloud, orthomosaic image, 3D model, or other location-based, high-resolution visual output.
We're happy you are here! Let's go through the easy-to-use system that allows you to go from raw image data to a usable 3D model in just 5 easy steps:
- Create an Account
- Upload Files & Photos
- Process Your Model
- View Your Model
- Export Your Model
Quick Start Guide
Start here if you want to quickly understand how to import your data and process a photogrammetric model!
Make an Account
If you have not created an account yet, let's start here! FYI, you also get a free trial of Mapware when you register a new account. 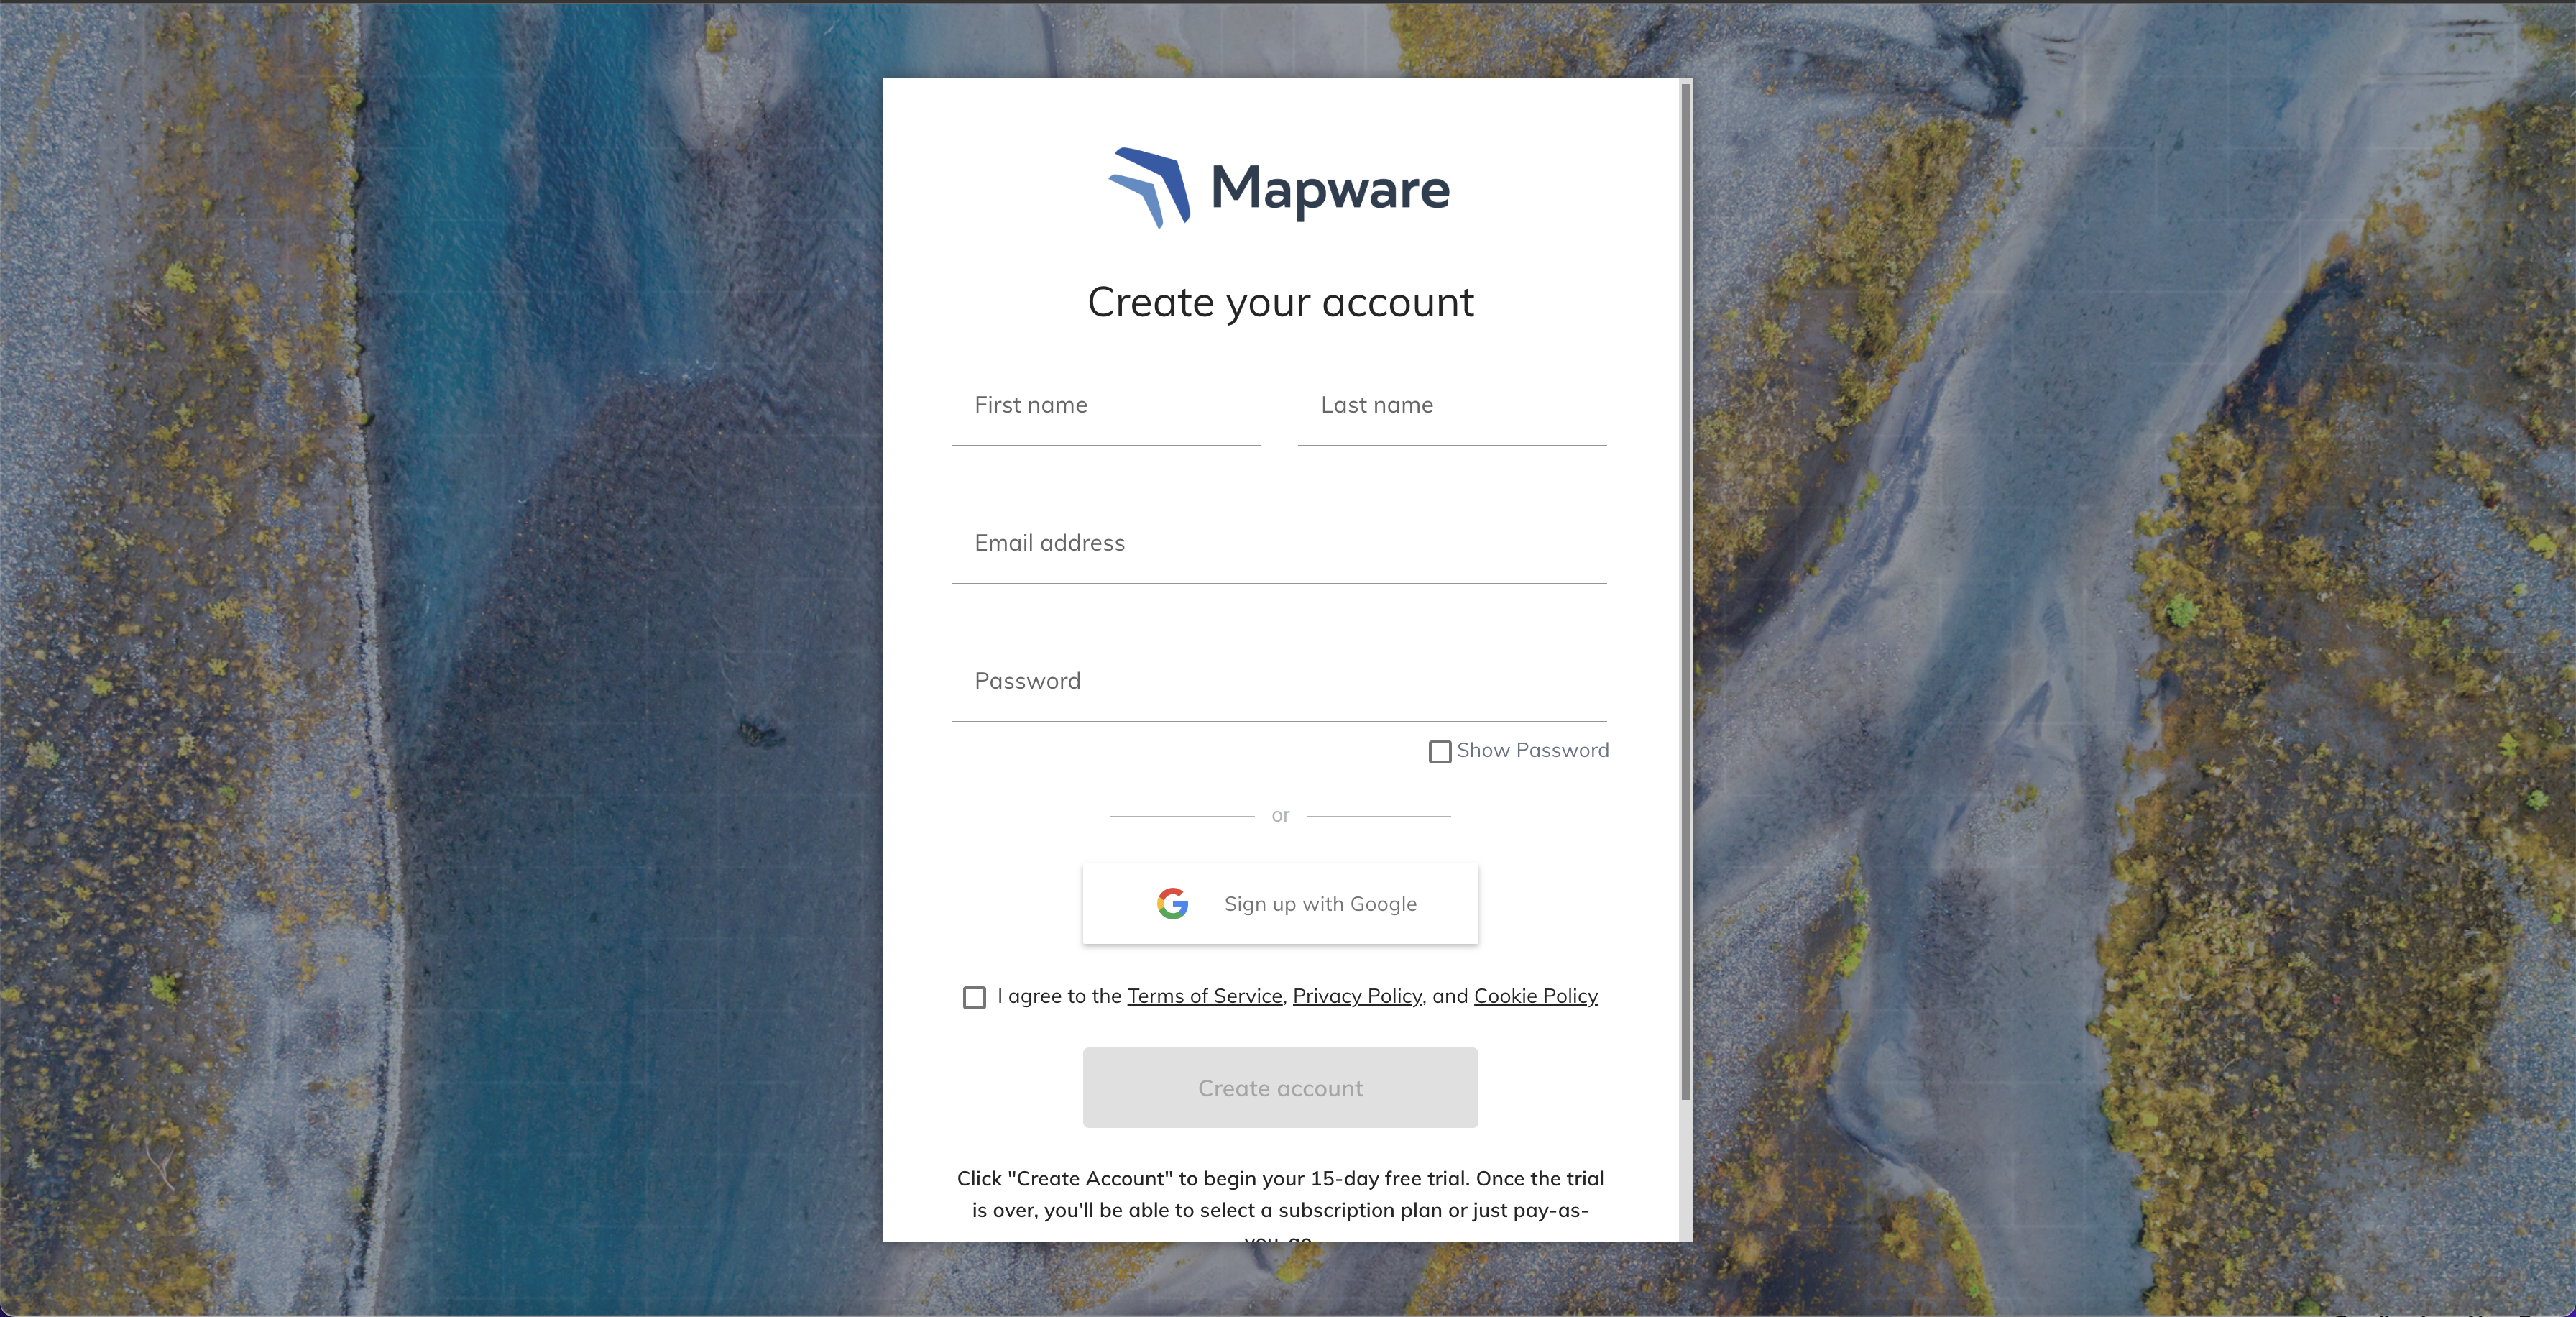
- First, browse to https://app.mapware.com.
- Click "Don't have an account? Create an account"
-
Then enter your first and last name, and email address, and create a password. Or, choose "Sign up with Google".
- Check the box if you agree to the Terms of Service, Privacy Policy & Cookie Policy.
- Click Create account.
- You will receive an email asking you to verify your email address. In the email, click
Activate My Account. You will then be redirected to your Mapware account.
If you chose to Sign up with Google, you do not need to verify your email. Simply select Sign in with Google every time you return to Mapware.
NOTE: If you already created an account through our mobile app, Mapware Fly, you can use the same credentials to log in to Mapware from any browser. Likewise, if you created an account online, you can log in on your mobile device.
Create a Project
Next, you'll want to create a project in order to organize your images and other files before being processed.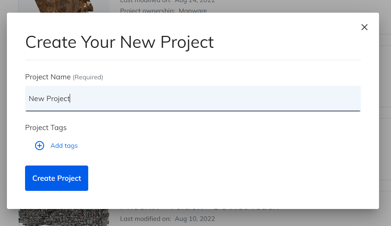
- Click Create Project (or the + icon) in the left column.
- Assign your project a unique name in the Project Name field. You can add project tags with the Add tags button to help searching. Once ready, click the Create Project button.
Import an Existing Model
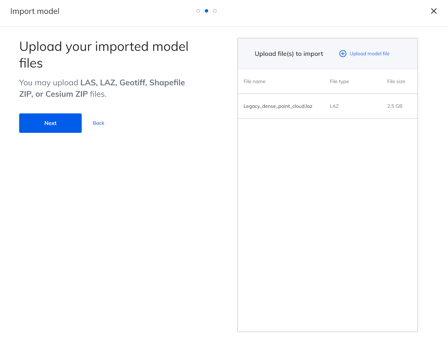
If you already have an existing model in LAS, LAZ, Geotiff, Shapefile, or Cesium format you can upload that data first.
This is a completely OPTIONAL step. If you wish to create a new model instead of importing an existing one, please proceed to the next step Process your Model.
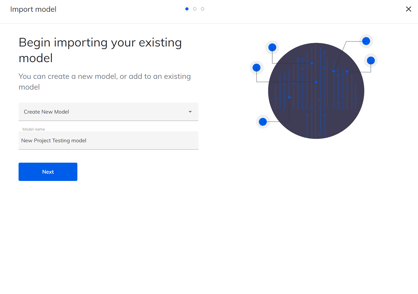
- Click Import Model from the project page
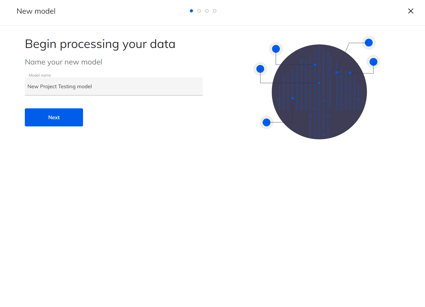
- Provide the model with a name and click Next
- Upload the files you wish to import by pressing Upload Model File and selecting the files. When you are ready, click Next
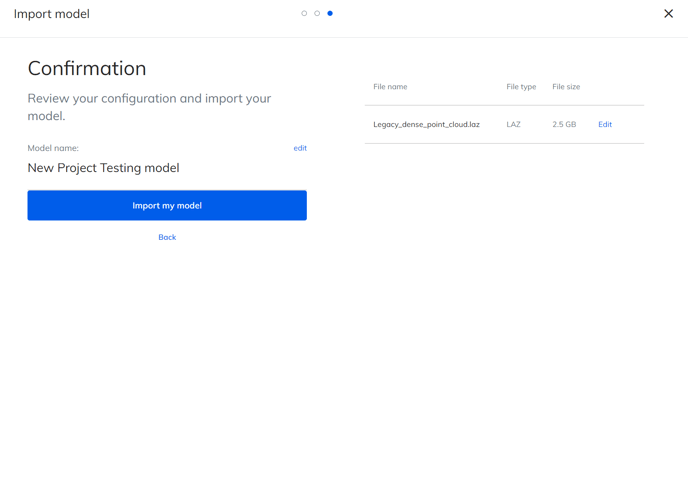
- A confirmation page appears. If everything looks good, click Import my Model.
Process Your Model
Processing a model is a workflow that will create a processing job which will take drone images and stitch them together for 2D orthomosaic and 3D viewing in our Map. To create a new model, follow these steps:
- Click Process new model from the project page.
- Provide the model with a name and click Next
- You'll need to upload any images you wish to be processed as well as any other associated data such as GCP points.
- Click Upload Images
- Create a new image group or upload to an existing. If creating a new one, give it an Image Group Name
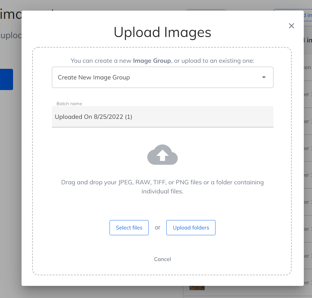
- Drag and drop the files or click select files or select folder in order to upload the images
- Click Add Files to add any other associated data
- Make sure the box is checked next to the image group name, so that all the images are selected
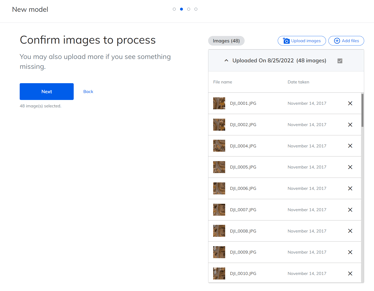
- Once you have uploaded all the images and files you wish to use in the model, click Next
- Select and Tag Ground Control Points by clicking Place GCP. If you do not have any ground control points, click Skip
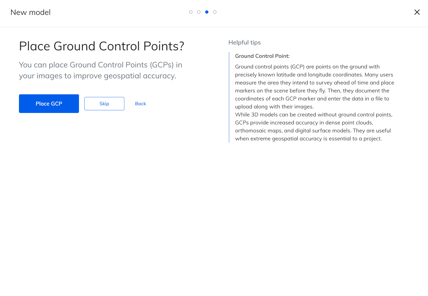
- NOTE: You can read more about GCP's in the article about ground control points. We also support GPS correction files, which you can learn more about in this article.
- A confirmation page appears. Processing credits are required to process the model. If everything looks good, click Begin processing my model
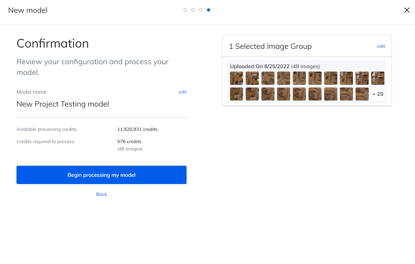
Note: You will receive an email notification when your model has completed processing and is ready for you to view and export.
Check Model Progress
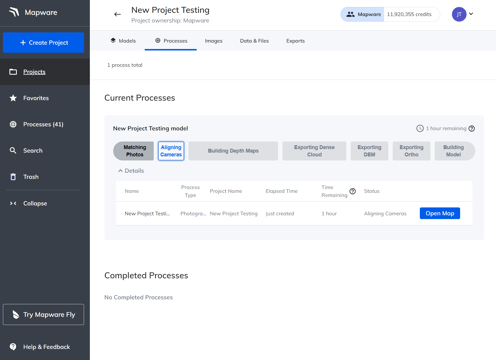
After the model has begun processing, you can check on it's processing status in two places. This will help you understand if you have a matter of minutes or hours before the model completes processing. Both will provide you the same level of details about a single model.
- Click the Processes tab inside the project and it will show you the current status and further details on the specific models inside that project.
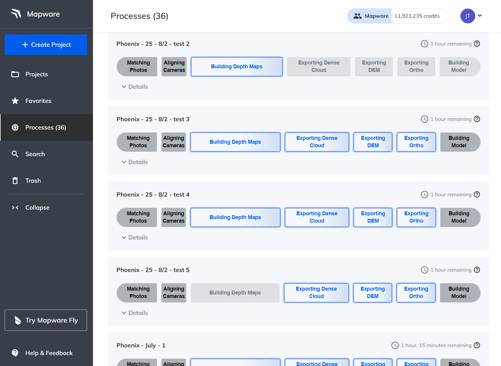
- Click the Processes tab on the navigation bar and it will show you the current status and further details on all the models for your team.
View Your Model
Once the model has finished processing, it's ready to be viewed in the Map.
- Click to open the project where the model is contained.
- Click the Open Map button or the name of any of the models within the project.
Once inside the map, you are able to interact with the 2D Map and the 3D model. Feel free to turn on and off different layers by selecting the eyeball icon next to each. On the left hand side you are able to use the map navigation tools, as well as create measurements and adjust between metric and imperial units.
On the 2D Map, you are able to toggle the background layer and the background opacity on the layers panel. Additionally, selecting details will allow you to see the image locations and the flight path that the drone took to capture the images in the models.
The types of output you see in the Map depend on the quality of the data you uploaded and include: map or 3D model, sparse point cloud, dense point cloud, digital elevation model (DEM), or 3D mesh.
COMMON PROBLEMS: Occasionally, some browsers will encounter a viewing error when attempting to view the map and 3D model. This article covers some of the most common issues.
Export Your Model
Each model can be exported in various formats in order to use them in other applications. Currently we provide exports of point clouds in .laz, .las, .ply, .txt, .e57, and .pcd formats.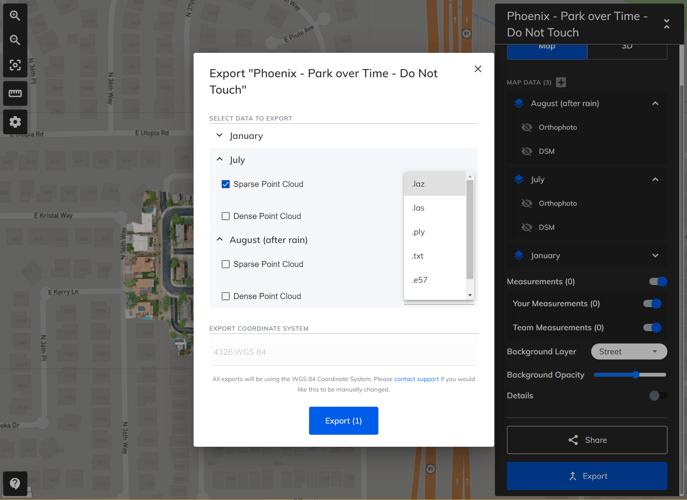
- From the map, click the Export button
- Check the box next to the layers you wish to export.
- For each layer, select the file format you wish to have them exported in.
- When ready, click Export
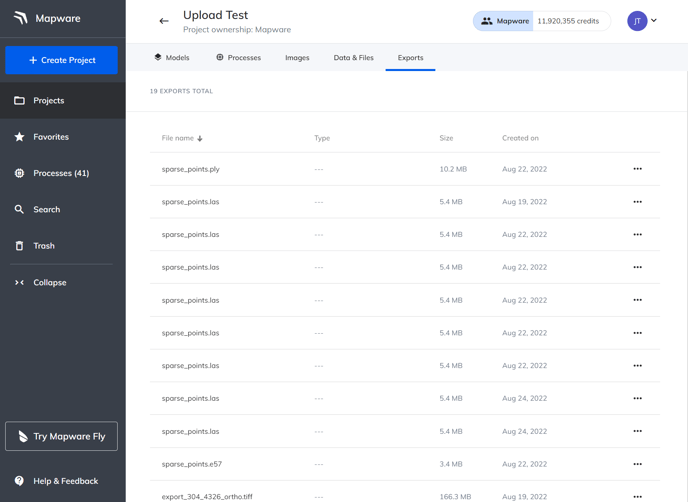
- Once the export has begun, you'll need to navigate to the Exports tab for the project.
- On the Exports tab, you are able to download any of the exports once they are ready.
Note: Exports may take a moment to prepare and may not instantly show in the list. You will receive an email notification when your export is ready.
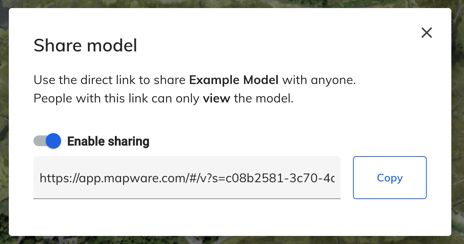
Share Your Model
Models can be shared to anyone by generating a unique link. People with the link do NOT have to be Mapware users in order to view the models. However, if they wish to do any editing, they would need to be assigned to your team and registered with Mapware.
- From the map, click the Share button
- Toggle Enable Sharing to on
- Copy the link and paste the link to your friends and coworkers so they can see your model!
In-Depth Guide
Homepage Navigation
By default, when you first log in to Mapware, you'll see your projects page.
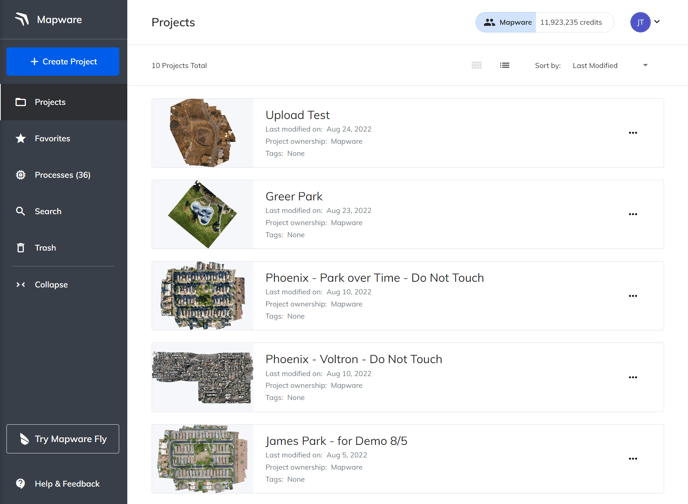
On this page you'll see a list of projects that are available to you.
The navigation bar shows different pages that are available to the user.
- Create Project will allow you to create a new project
- Favorites will show a list of projects that you have favorited. You can favorite a project by going into the options for a specific project and clicking Add to Favorites.
- Processes will show a list of all the current and completed model processes. Once you have kicked off a model to be processed, it will be available here with a time estimation of completion and let you know what stage of processing the model is currently in.
- Search allows you to search projects for specific keywords.
- Trash shows all of the deleted projects. Any projects that are deleted can be restored to your project list by clicking Recover, if you accidentally delete one. Additionally, they can be permanently deleted if you choose by clicking Empty Trash.
- Collapse will reduce the size of the navigation bar, just showing icons rather than the text with the icons. This is helpful if you are using a small screen to give you more room.
- Try Mapware Fly will popup a notification on our flight planning and control application available on Android.
- Help & Feedback will allow you to click a link directly to this knowledge base or send an email to our support team at support@mapware.com.
At the top of the page, you can select your team name and the credit value, in order to Switch Teams if you are a member of multiple teams.
Projects
Projects are how all data is organized in preparation of creating a model. You are able to upload your data, including images, GPS correction files, ground control point files, and notes to your project in Mapware. Then, you can use that data for inputs to create a 3D model in several output formats.

All your Projects are represented with the project name, a thumbnail image from the models associated with the project, and the last modified date. You will also see any tags you added to the project.
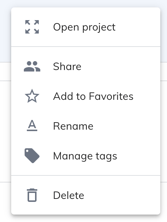
Clicking on the ellipses "..." icon over to the right, will expand the options for each project.
- Open Project will allow you to enter the project, in order to view or process models and the associated data.
- Share will allow you to share an entire project with other people via email.
- Add to Favorites will add the projects to your favorites page, available from the navigation bar.
- Rename will allow you to change the name for the project.
- Manage tags will allow you to change the tags associated to the project, helping you easier find the projects using the search page, available from the navigation bar.
- Delete will allow you to delete the project.
Manage your Account Settings
To access your settings, click on the initialed icon in the upper right hand corner.
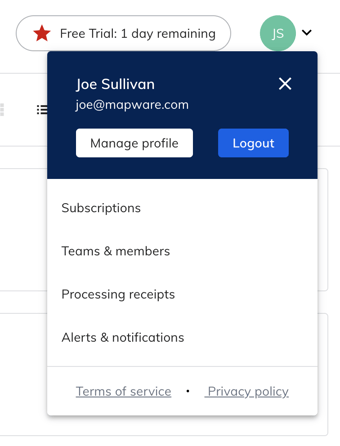
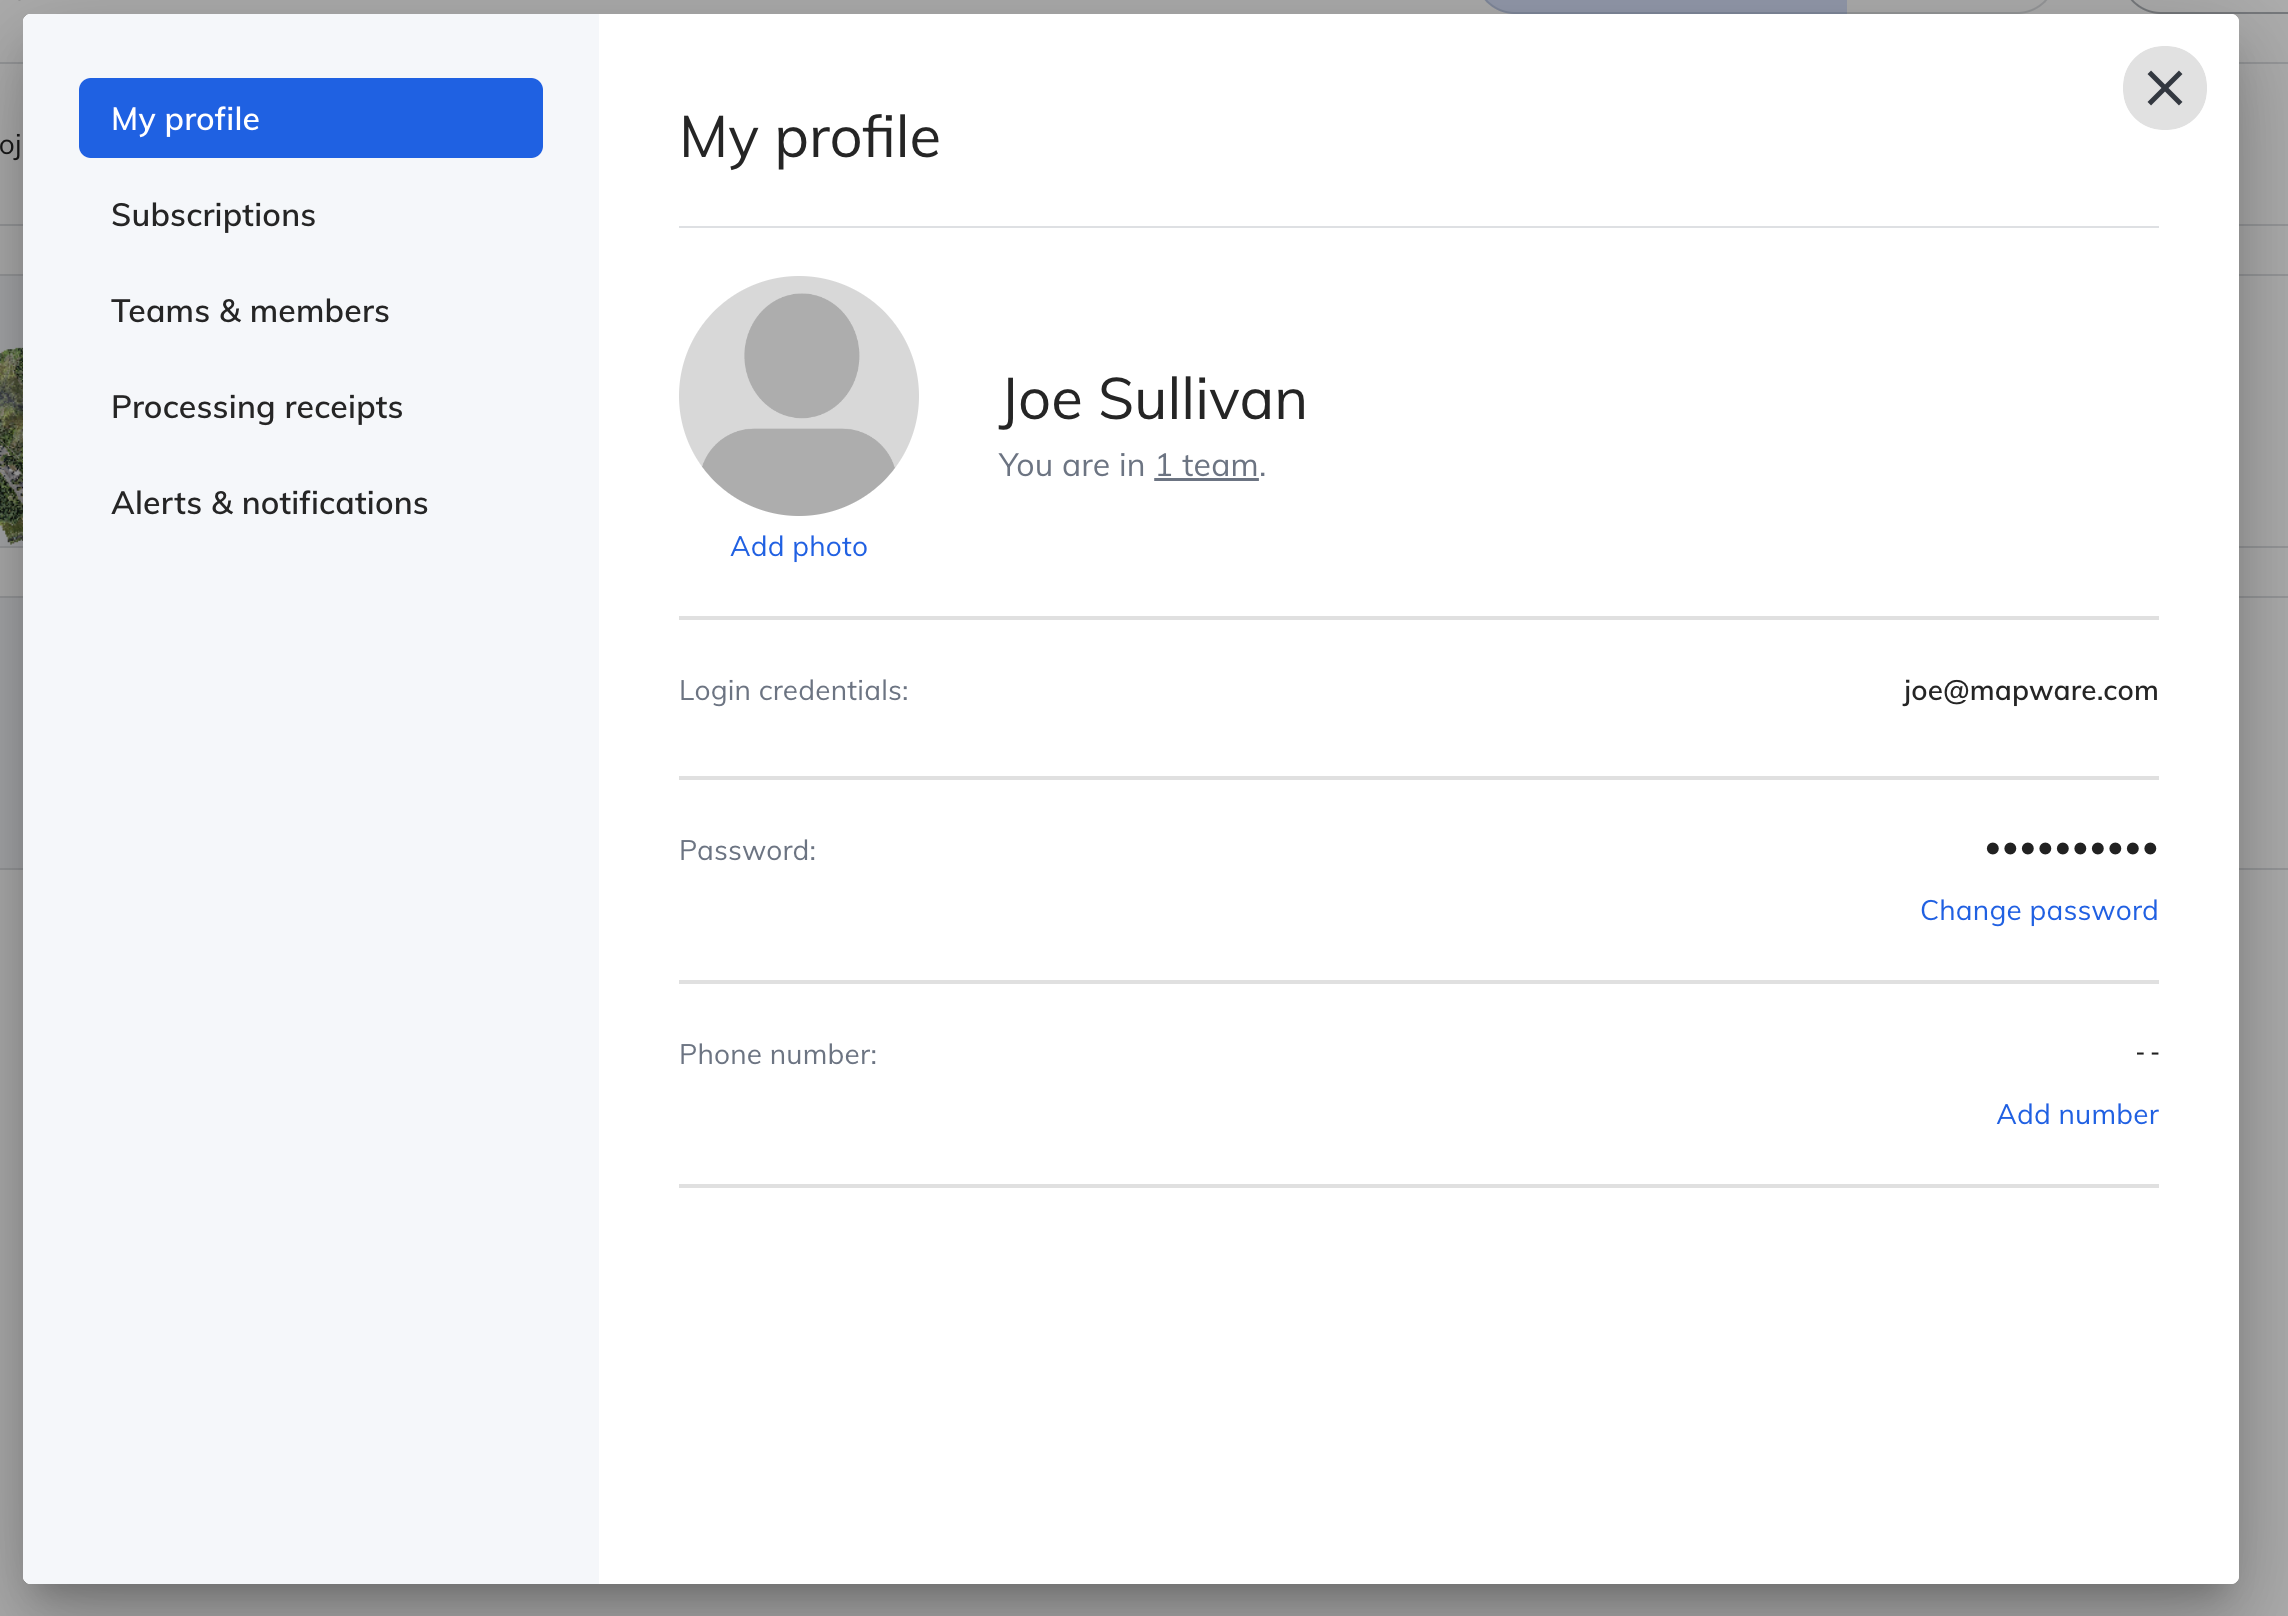
My Profile
Your profile contains information associated to your Mapware Account and the ability to change certain information.
- Add Photo will allow you to update your avatar photo that represents your account.
- Login credentials will let you know which email you have associated to your account.
- Change Password will allow you to update your password if you wish to change it.
- Add Number will allow you to add a phone number to associate with your account. This can be helpful if you would like our customer support reps to be able to contact you for support with your projects. We will never sell or give away this number without your permission.
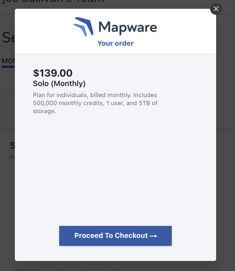
Subscriptions
From the Subscriptions tab you can select your payment plan. This page allows you to toggle between Monthly and Annually to see available plans, as well as select the plan which you wish to select.
For more information on our pricing plans and the features they contain, visit our Pricing Page.
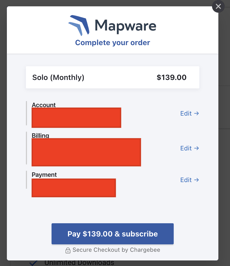
In order to purchase a subscription:
- Make a choice on which subscription you would like to purchase.
- Click Proceed to Checkout
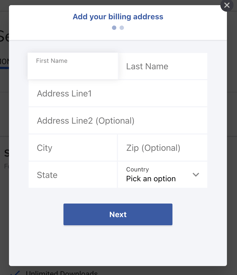
- Enter your billing address and click Next
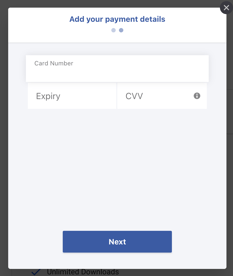
- Enter your credit card details and click Next
- Confirm everything looks good on the summary page and click Pay $$ & subscribe
NOTE: Billing is associated to a team, meaning that everyone who is added to your team will have access to that billing tier. However, if you create a separate team, that team will have separate billing details attached. This can be useful if you are managing multiple clients.
Teams & Member Permissions
Mapware uses Teams to organize which users are able to access which projects and subscription plans. This is helpful for large organizations that have different groups that want to use the application for different purposes. Or smaller organizations looking to manage multiple clients. Using the teams functionality, you can easily share your entire workspace with other users.
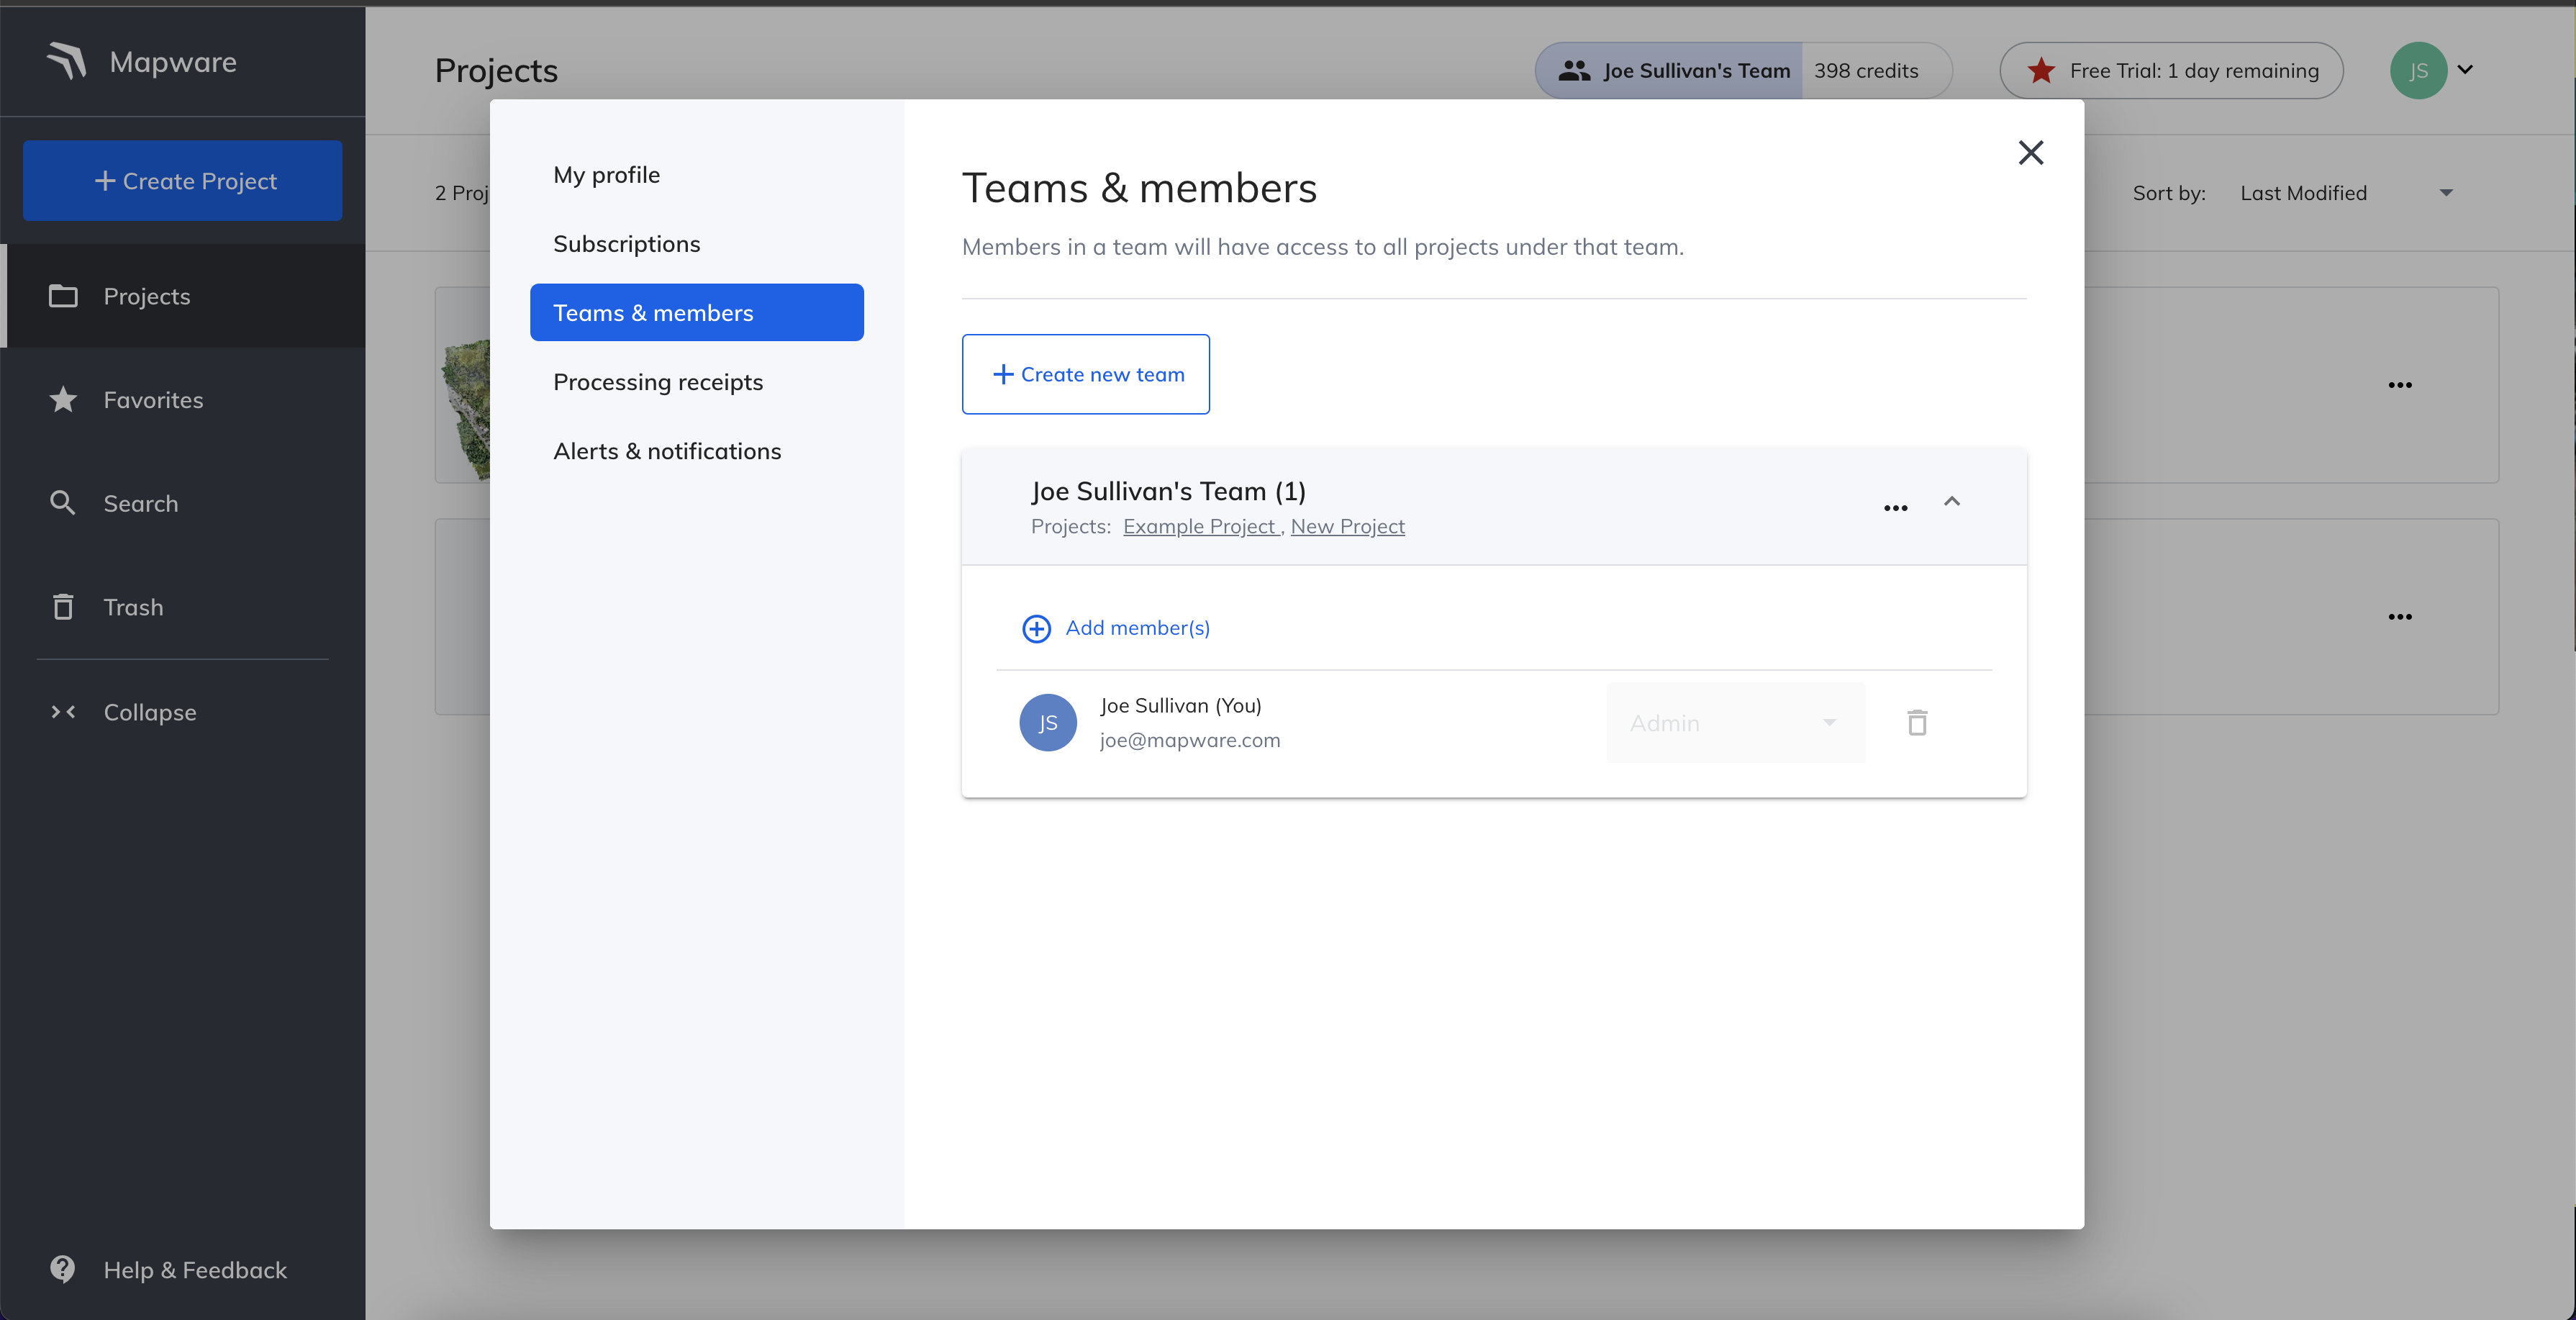
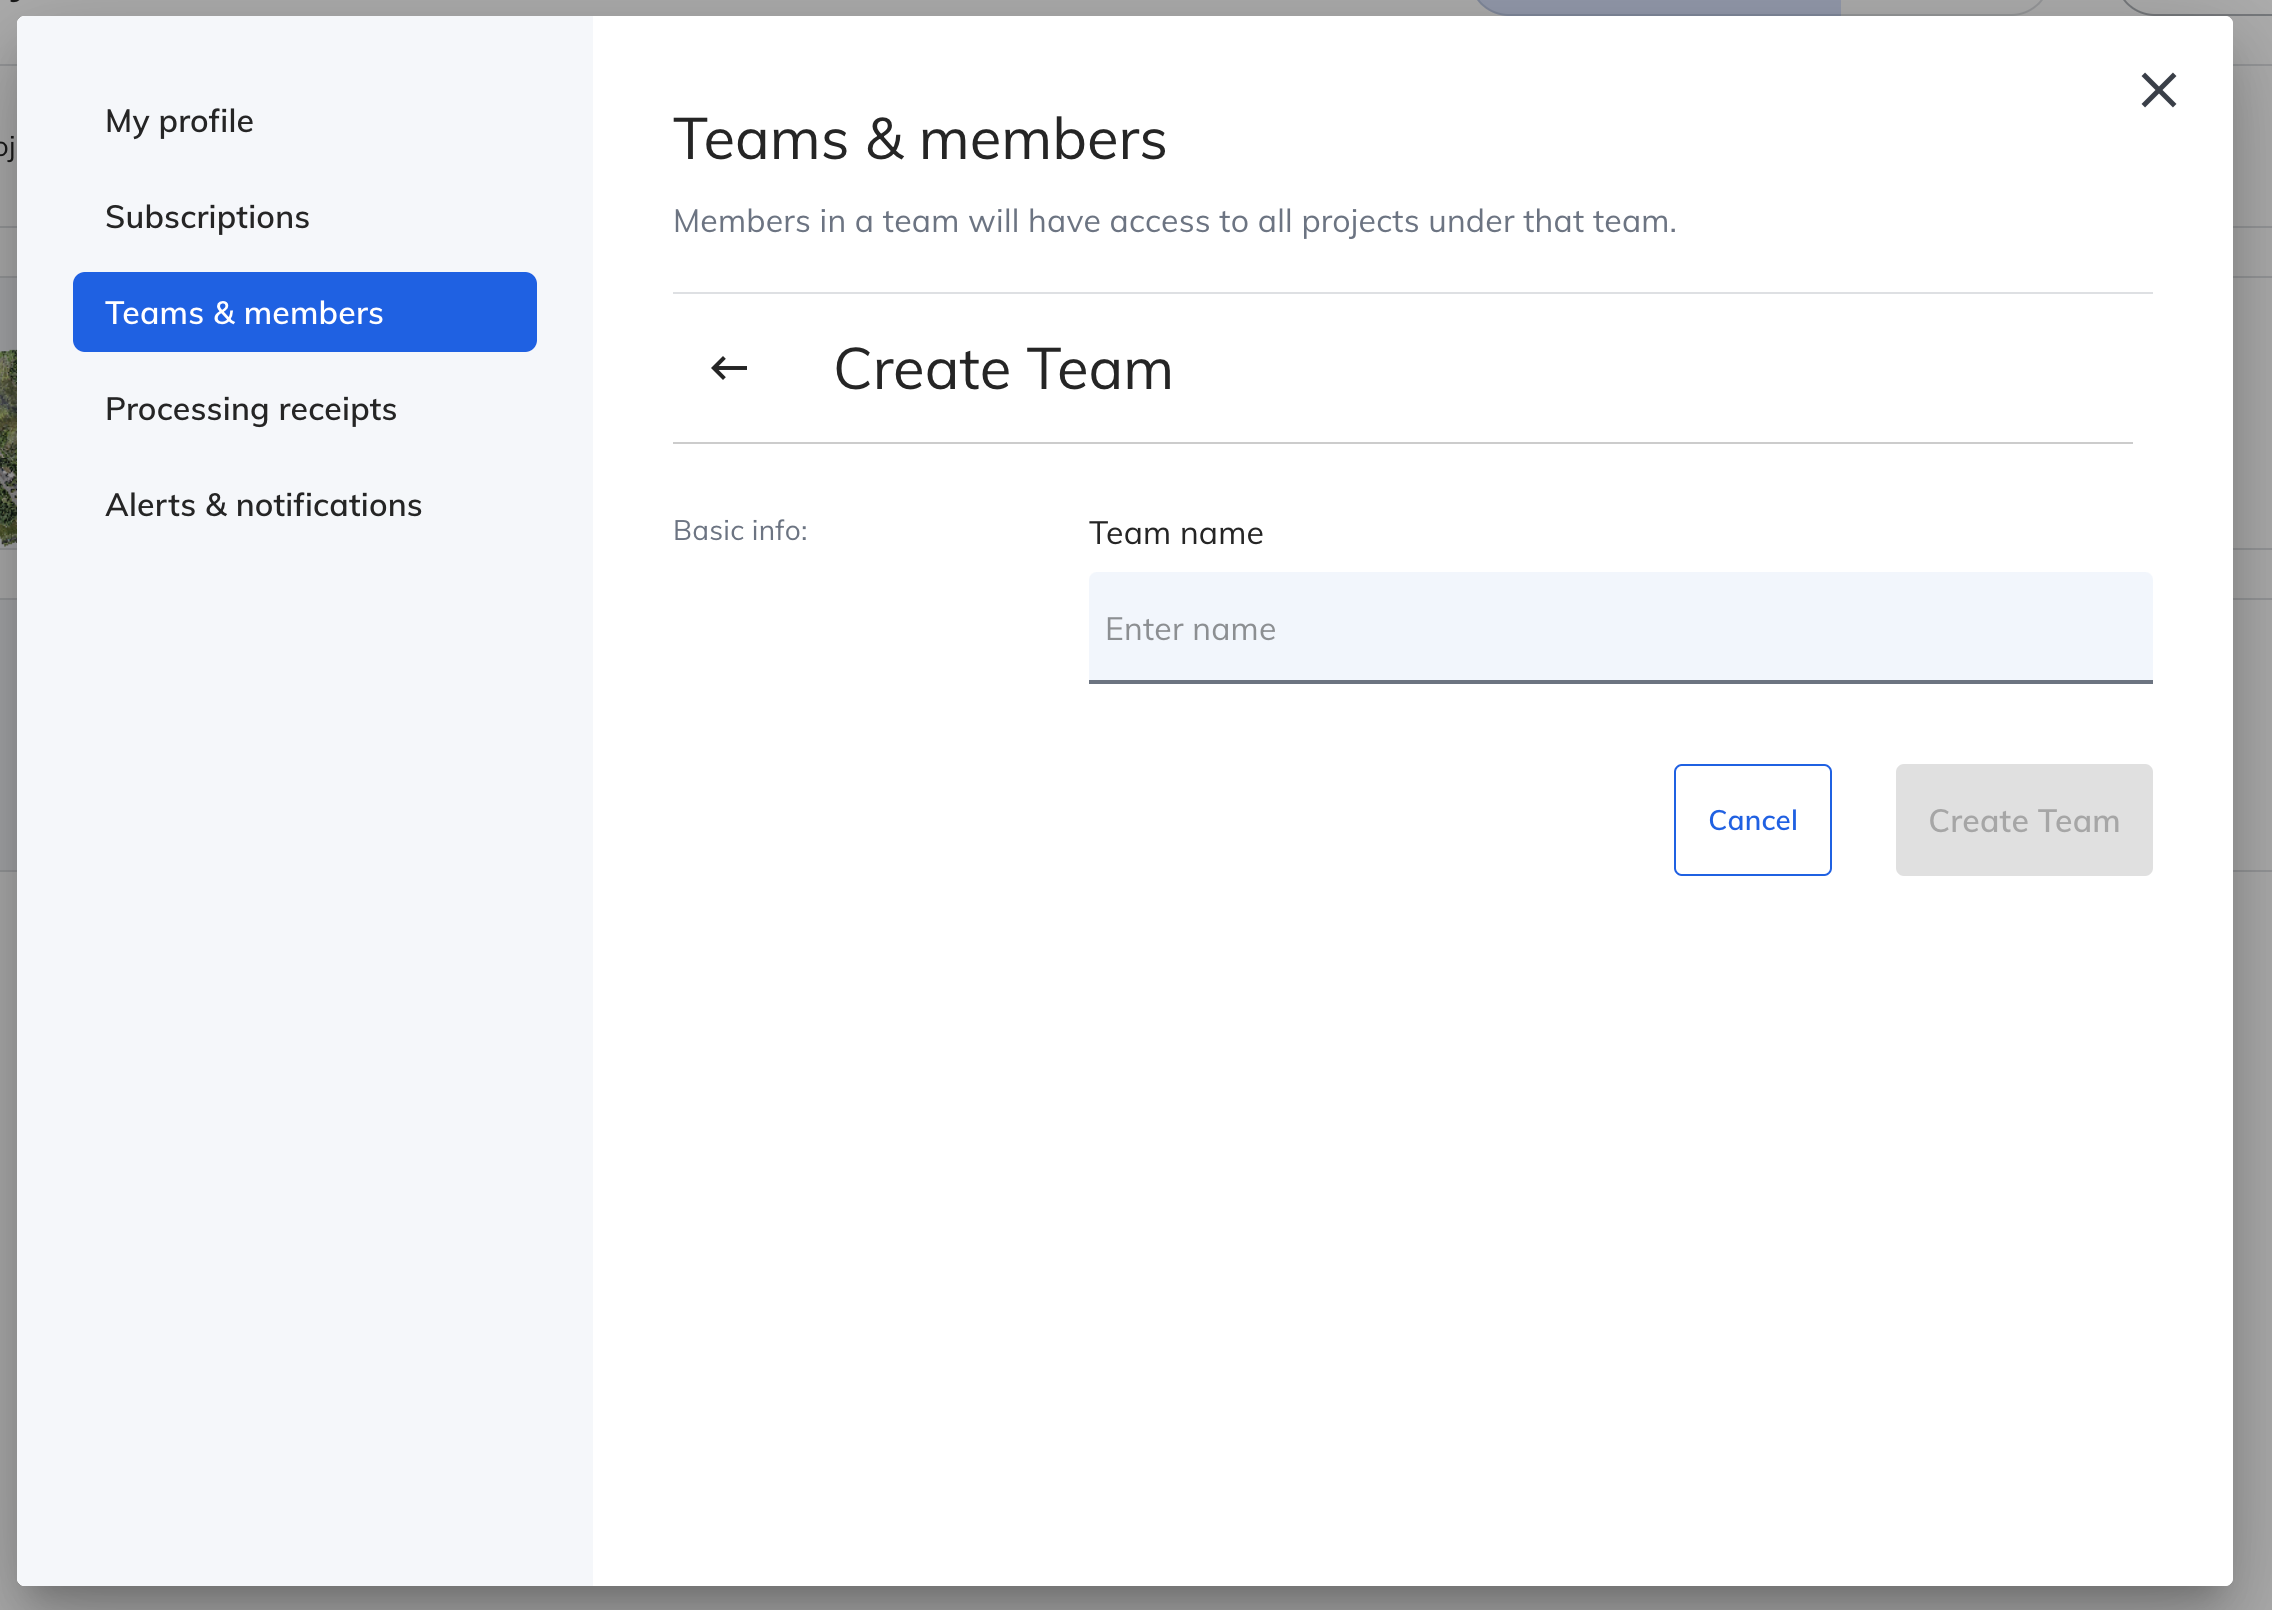
Click Create new Team in order to create a new team. You can create as many teams as you want, but keep in mind additional teams are not given additional credits for free trials, nor do any subscriptions transfer. Give the team a Name and click Create Team.
Click Add Member(s) in order to add additional users to your team. Input the user's email address into the input box and select the level of permissions you wish the user to have. Click Send Invite to send the user an email with a link to your team. They can be either an existing user or a new user to Mapware.
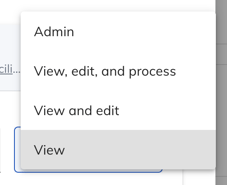
When adding a user, you can set the permissions to one of 4 options:
- Admin: Gives full permissions to the user.
- View, edit, and process: Allows the user to view, edit and process models.
- View and edit: Allows the user to view and edit models, but not process new models.
- View: Allows the user to view the project, but does not allow the user to make any other changes to the available data.
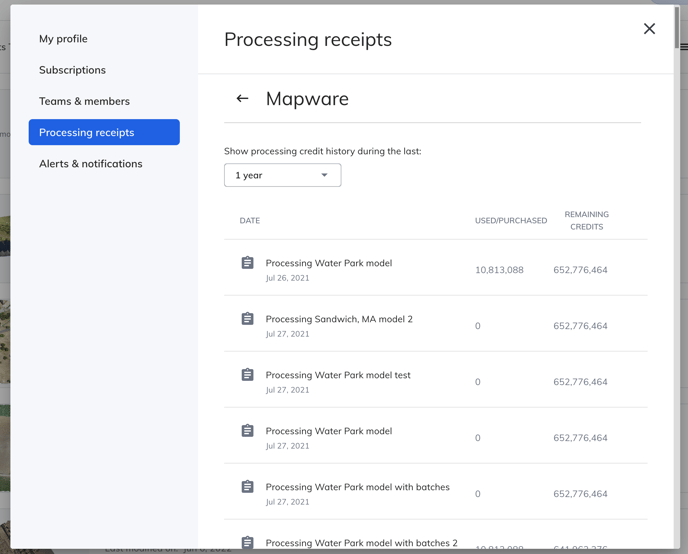
Processing Receipts
Here you can view receipts for all previously processed models. All model processing requires credits and this list will show how many credits were used (or purchased) for each processing job and how many credits remained on the account. Selecting the dropdown will allow you to select the timeframe you wish to see in the list.
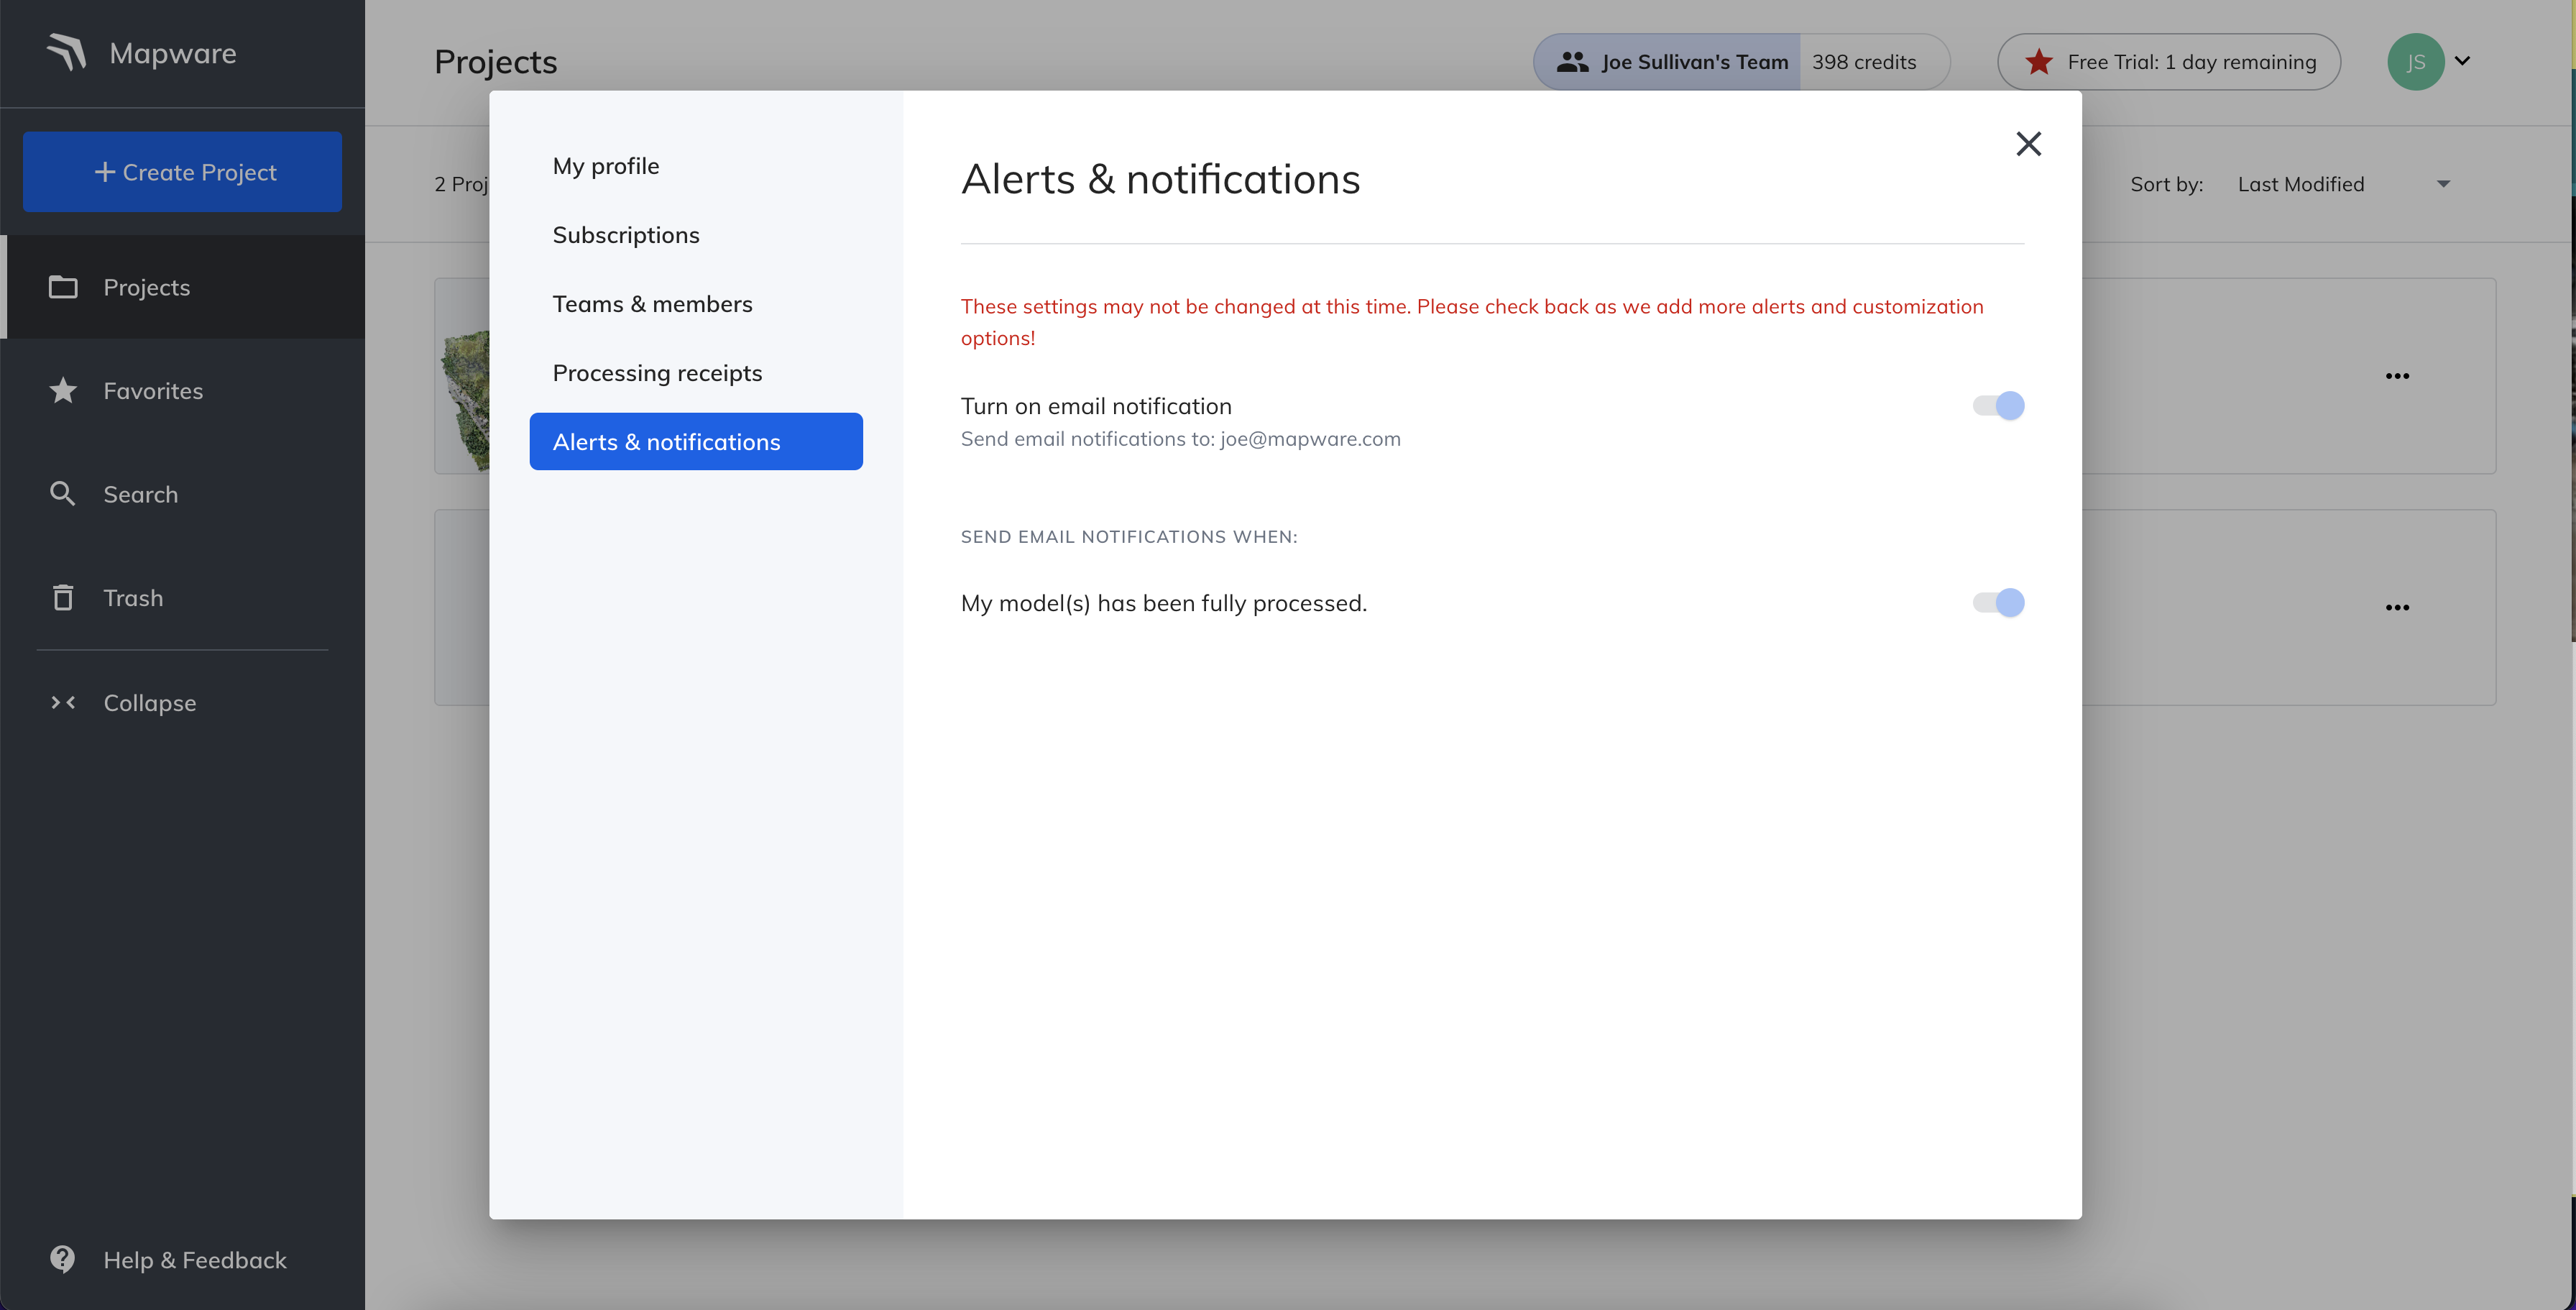
Alerts and Notifications
Currently we do not allow any modifications to your alerts or notifications in the application. However, we expect to add more functionality here in the future.
The Mapware Map (Model Viewing)
Once a model has finished processing, it's ready to be viewed in the Map. Here you will interact with the models of a project in order to view the data in 2D or 3D formats. Each model in the project will be collapsible to keep the various layers separate. Additionally there is functionality such as measurements and exporting that is available from this interface.
To access the map:
- Click to open the project where the model is contained.
- Click the Open Map button or the name of any of the models within the project.
Map Navigation Tools
![]()
- Zoom In: Clicking this allows the user to zoom in on the displayed data.
- Zoom Out: Clicking this allows the user to zoom out on the displayed data.
- Reset View: Clicking this will return to the default view/extent.
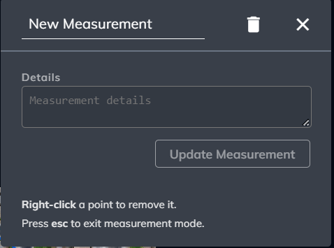
- Measurement Tool: Clicking this will enable the measurement creation tool and bring up the measurement details window. Click anywhere on the map in order to place the begin your measurement. Click as many times as you would like in order to create the ideal polygon measurement. Press ESC at any time to exit the measurement tool. Right clicking a point will remove it. Left clicking a point will allow you to drag and drop to a new location.
- Change Name: The top line on the titlebar, where it says 'New Measurement' is able to be clicked on and edited in order to change the name.
- Details: Type in any details in this text box to be associated with the measurement when it is clicked on.
- Update Measurement: This will save any changes made to the name or details.
- Trash Icon: Clicking this will remove the current measurement.
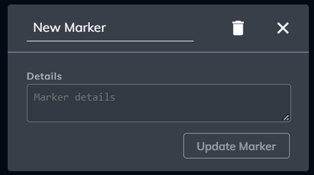
- Marker Tool: Clicking this will enable the marker creation tool and bring up the marker details window. Click anywhere on the map in order to place the marker.
- Change Name: The top line on the titlebar, where it says 'New Marker' is able to be clicked on and edited in order to change the name.
- Details: Type in any details in this text box to be associated with the marker when it is clicked on.
- Update Marker: This will save any changes made to the name or details.
- Trash Icon: Clicking this will remove the current marker.
- Settings: Clicking this will bring up a menu of available options.
- Units: Choose between meters, feet, and inches for the measurement tool.
- Controls: Choose between Earth, Orbit, and First person for how to navigate the data on the screen.
- Show Camera Pivot: This will help you understand how the screen is moving if you have certain controls set. It will also allow you to move the pivot point by clicking the pivot and dragging it to a new location.
- Help: Clicking this will bring up a menu to view a link to the Knowledge Base or to email support if you find a bug or have any questions.
Layer Window
Here you will interact with the individual data layers of the map, in order to activate and deactivate certain features to be viewed.
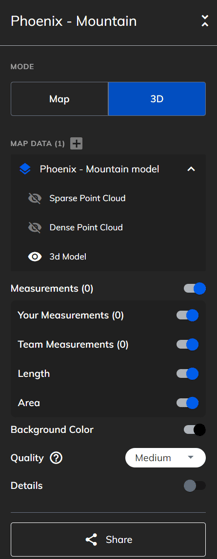
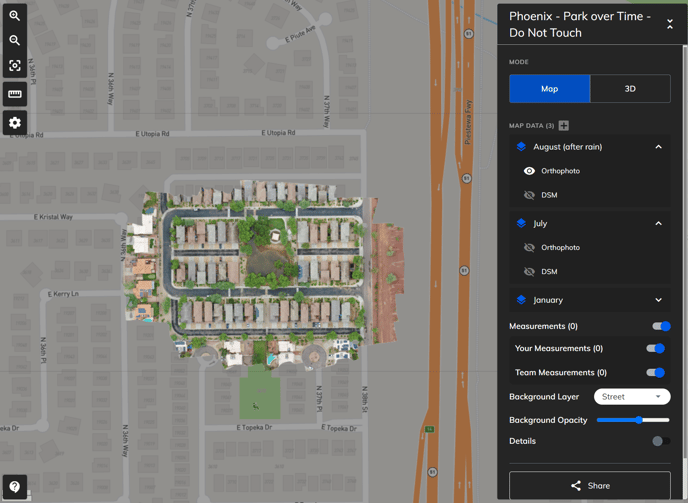
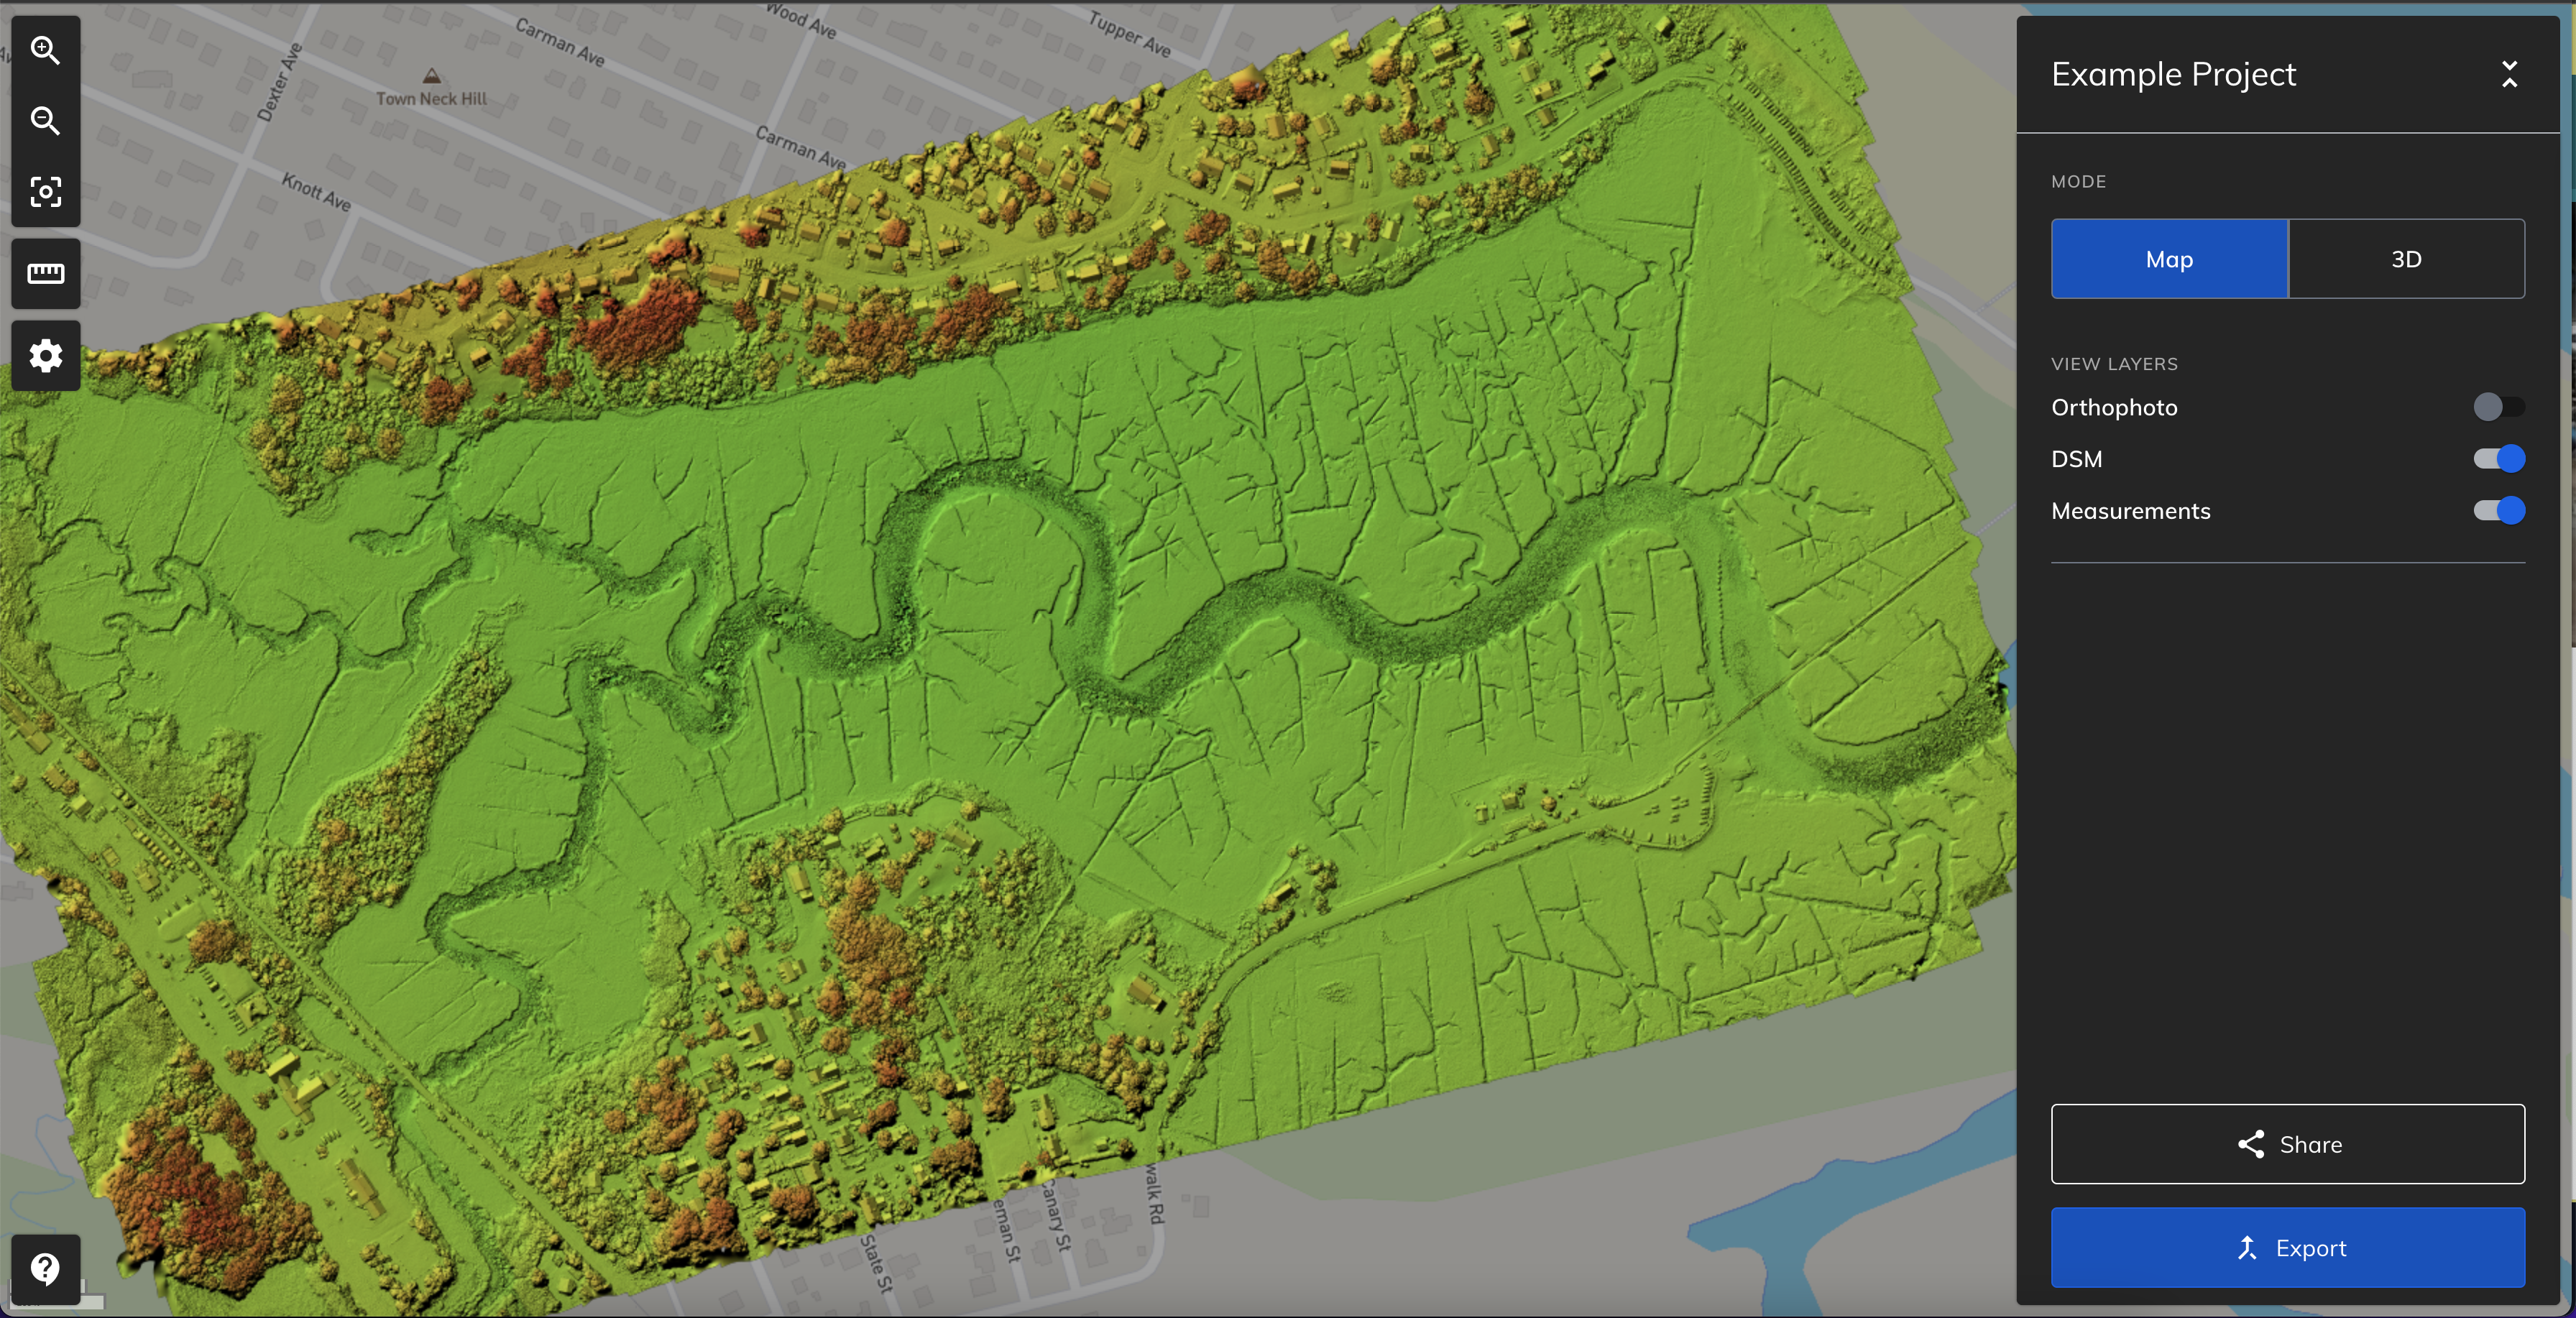
- Mode: Quickly swap between 2D and 3D viewing
- Select Map to view the 2D data layers available in the project. Commonly, the orthomosaic and DSM.
- Select 3D to view the 3D data layers available in the project. Commonly, the dense point clouds and 3D models.
- Measurements: Activate the ability to view measurements, if applicable. Here you are also able to view measurements that other members of your team have made on the map. These are available in both 2D and 3D modes.
- Backgrounds: Use these to set the appearance of the window outside of the data layers included in the project.
- 2D Background Layers: Here you have the ability to select various 2D basemaps in order to use as a reference against your data. Currently you have the ability to swap between Street, Satellite, Terrain, and Dark basemaps. Additionally you have the ability to modify the opacity of that basemap to your liking.
- 3D Background Colors: Toggle this to swap between light or dark background. Depending on the contrast and colors of your 3D data, sometimes a black or light background may be more helpful to see gaps in the model.
- 3D Quality: Toggling this will give you a higher quality 3D model. However, keep in mind this will also increase network and device load, which could affect performance.
- Details: Toggling this will give you more geographic information about how the data was captured
- Image Positions: Toggling this will allow you to view the locations of where the images were captured for the data displayed in the map. These are represented by white polygons and will be accurate to the height of the image capture also.
- Flight Path: Toggling this will allow you to view the flight path of the drone during the image capture. It will also quickly do an animation to show you where the drone started and the route it went on. This will be displayed on the map with a green line and will be accurate to the height of the image capture also.
COMMON PROBLEMS: Occasionally, some browsers will encounter a viewing error when attempting to view the map and 3D model. This article covers some of the most common issues.